
How to Make A $5,000 Website In Under an Hour
How to Make A Website Video on Youtube
How to Make a Website In Under an Hour
In this article I will be showing you how to make a website in under an hour using the Divi theme from elegant themes. Divi is a drag and drop visual editor that will allow you to create a professional quality website with no technical skills and no coding skills necessary. A website of the caliber that we are creating today would cost five thousand dollars or more if you were to go to a professional web agency. Whether you learning how to make a website for your business or just a blog this is the right article for you.
Required Items
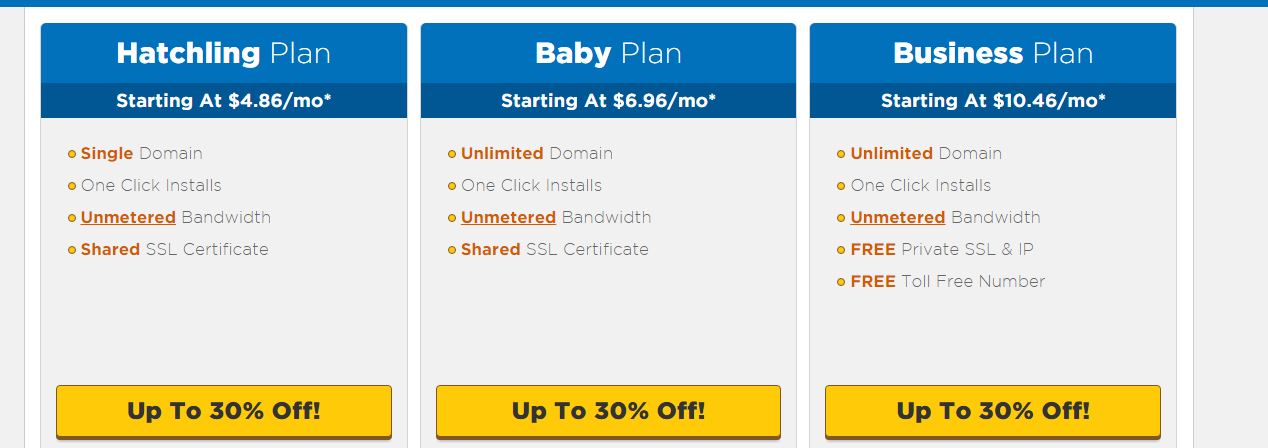
- Domain Name and Hosting- A domain name is the address of your website on the internet and hosting is how your domain and website are made available for other internet users to access. Both of these can be gotten from hostgator.com for less than $15.
-
Use Coupon Code THEBROCAVE for 25% off on your hosting and domain name
-
- The second item needed for this tutorial is the developer package from Elegant Themes. This will get you access to the Divi theme as well as 86 other themes and a number of useful plugins. I am an affiliate for elegant themes so I will receive a small commission if you purchase through the above link, at no additional cost to yourself.
Step 1: Getting Hosting and Domain Name
The first step to make your website is to get your domain name and hosting plan. To do this you will click on the link above and go to hostgator.com. From there you will select your hosting plan, hatchling if you only plan on having one website and baby if you plan on having multiple websites.
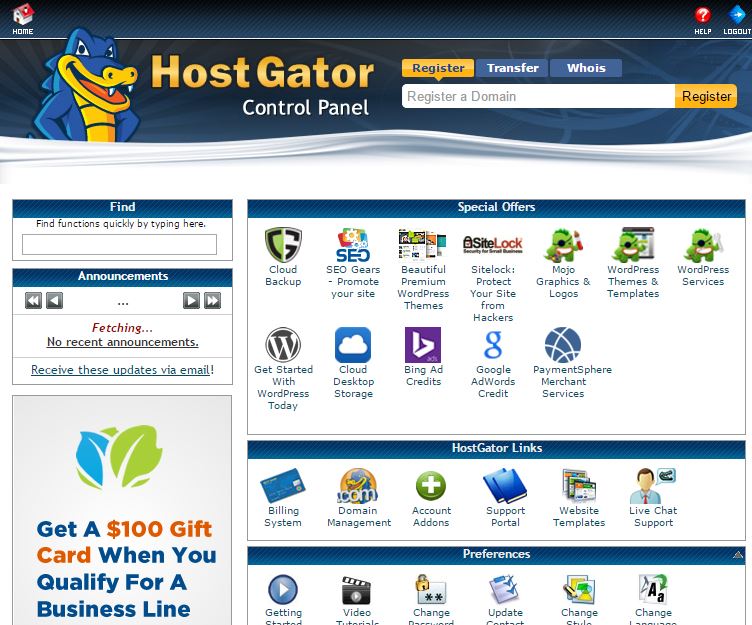
Once you select your plan you will also have the ability to select your domain name. Hostgator will tell you if the domain name is available or not. Once you’ve checked out you will receive an email from hostgator with your account information and a link to your Cpanel.
Step 2: Installing WordPress on Your Domain
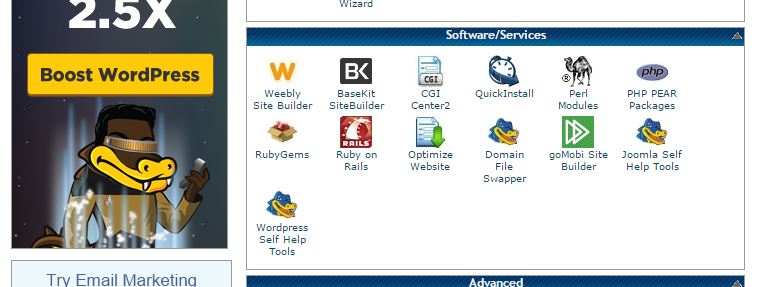
The Cpanel is where you can manage your domains, update your hosting plan, create databases, and much more. What we want to do right now is scroll down to the middle of the page and click on quick install. Once there you will look at the left hand sidebar and click on WordPress. From there you will fill out the form and quick install will do the rest. Once you have that done you may have to wait a few hours. If you did everything correctly when you visit your domain you should have a fresh install of wordpress.
Step 3: Downloading and Activating Divi
The next step will be joining elegant themes and getting access to Divi. Elegant Themes has a ton of great themes that they also include in their memberships but for this tutorial we will be using Divi. Along with Divi we will also be downloading the plugins Bloom and Monarch. These will be key in both making your website and the success of your website once it has been made.
After you have signed up for Elegant Themes you will download the plugins to your computer. You will long into your website by going to www.yourdomain.com/wp-admin.
From there you will go to appearances and then to themes. You will go to add new and then upload now and select divi from your computer. Once it has been uploaded you will activate it.
Step 4: Creating Pages and Menu
The first thing we are going to do is create the pages that we want for our website. You can make whatever pages you want but for this tutorial the pages will be the following
- Home
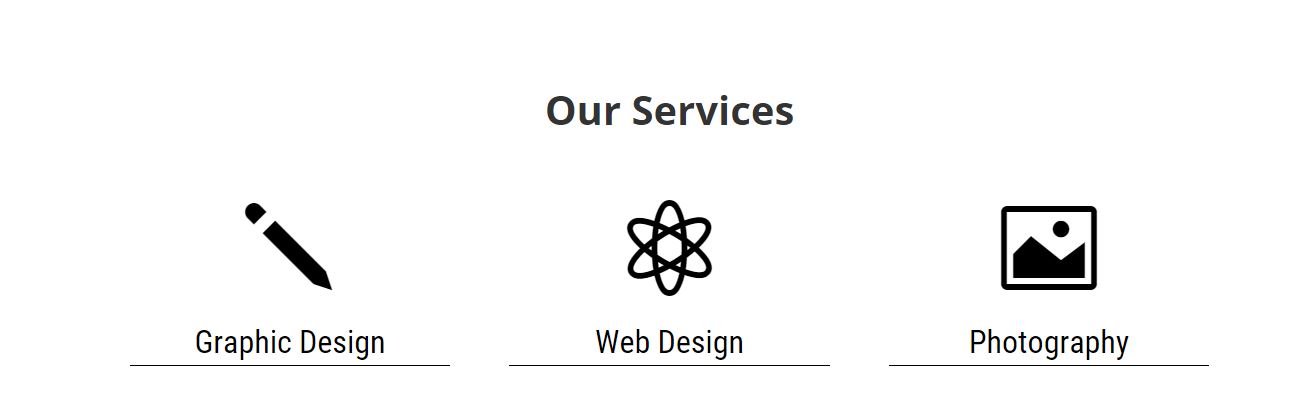
- Services
- Graphic Design
- Web Design
- Photography
- Portfolio
- About Us
- Contact
- Blog
- Shop
After making these pages we will go to the menu tab under appearances and create our main menu for the site. You can place the pages under any order you want, but be sure to check the tab near the bottom to make this menu the primary menu for the site.
After this we will go to the home page and click on theme customizer and select static front page. Select your Home page for the home page option and your Blog page for the posts page option. This will allow us to edit the home page.
Step 5: Creating the Home Page
Clicking on the edit page tab on your home page will allow us to go to the back-end of the homepage and create home page.
The first thing we are going to do on the homepage is create a full width slider. Click on the main full width section and select the image you want to use as the main image for your site. Then click into the full width slider section and add in your title and button text. Set the background as black with a .5 transparency and then save and update.

The next section of our homepage will be a standard section with three blurb modules for our services. In this tutorial they will be linked to the individual pages for each service.
The third section of our home page will be the full width portfolio. To create this you will first create individual projects under the projects tab. The number of projects and how fast the portfolio cycles can be edited in the module.
The fourth section of the home page will be the Shop module. For this module to work we will need to go to the plugins section of the dashboard and download WooCommerce. Once this has been downloaded you will have to create products similar to the projects from the full width portfolio.
The final section of the home page will be the contact form. To create this we will make a 1/3 and 2/3 section with 2 blurbs stacked on top of each on the left side with a contact module on the right. We will also save this section to the library so that we can reuse it for our contact page. We’re also going to put a call to action above this section with 0 padding to draw attention to the contact form.
Step 6: Editing the Header Menu
The next step will be making the header transparent. To do this we will go to the home page and click on theme customizer. From here we will click on header and navigation and make the menu centered. We will also make the the primary menu background transparent and the active link color red. The header width will be set to 100
Our next task is to edit the fixed header. First we will remove the header logo, then we will set the background color to black with .5 transparency. We will set the width to 50 and the font color to white. We will also make the active link color red.
Step 7: Finishing the pages
Now we have to finish the portfolio, and about is pages. The shop page will automatically be finished when you download WooCommerce.
To finish the portfolio page we will simply insert a portfolio module set to grid. This will take all the projects that we created earlier and place them on our portfolio page.
To finish the contact page we will go to our library and select the section that we created earlier for our home page. We will then simply paste this section onto our contact page. In addition to this we will place a full length Google Map above our contact form so that visitors can see and get directions to our physical location. To do this we will simply create full width section and create the map module and insert our location.
To complete the about us page we will insert a text module with a header and body text. Below that we will insert some number counter modules to give visitors some information about us in a unique way.
Step 8: Footers and Sidebars
The last thing we have to do to finish our website is customize our footers and sidebars. This is where the Bloom and Monarch plugins from Elegant Themes will come in handy.
Bloom can be used to allow your visitors to easily opt-in to your email subscriber lists. Bloom can be placed as a widget on your sidebar or footer, in a pop-up, or used to lock content so that visitors can’t see it unless they opt-in to your newsletter.
Monarch is a social share plugin that allows visitors to easily share your website content on social media. Monarch can be used in your footer, sidebar, above and below content, or as a corner fly in. There are also a massive number of customization options.
Conclusion
If you made it this far you are now the proud new owner of a professional quality website and have successfully learned how to make a website. This tutorial wasn’t meant to be a comprehensive guide on how to make a website using Divi, so if you have any questions you want answered feel free to comment and we will be more than willing to create more in depth videos in the future.
Please Share and Subscribe!
Thanks for this great article. I am using what you taught me from this video for a non-profit org that I am connect with.
I have a few issues with the menu system.
1. It has the word “Uncategorised” entry on there
2. It will not hold the order as I set in Appearance/Menu. It seems to be sorted alphabetically
3. It doesn’t hold the submenu items off the top level main menu and lists every menu item separately.
This is a vanilla install. Any help on this would be great.
Many Thanks
Glenn
You probably didn’t save and set the menu as the primary menu, that should take care of all the issues your having.
That was it. I must have missed that in your video.
This was a great video! I am now looking forward to you next video building on from what you have done so far. Is this a possibility?
Yeah, I’m thinking of doing some more tutorials on useful tools related to web design when I have some free time.
Glad this video was able to help you out!